


How to Get Rid of Mold: DIY Mold Removal and Remediation Guide
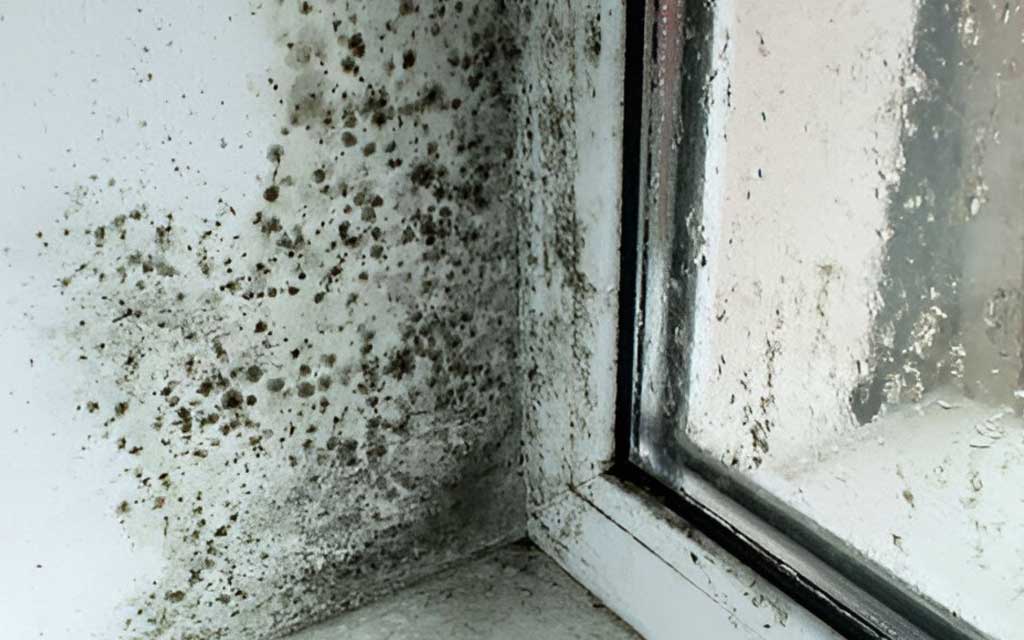
In British Columbia, our damp coastal winters, heavy rainfall, and high humidity create the perfect breeding ground for an unwelcome indoor guest: mold. If you have discovered mold in your house, you are likely wondering how to get rid of mold yourself. While you can manage small areas, it is vital to understand the different strains and how to clean them safely.
Here is a quick overview of the most common molds found in BC homes:
Common Types of House Mold
Cladosporium
This strain is frequently found on wood, carpets, and fabrics. It can look black or green and typically thrives in damp, unventilated areas like Lower Mainland basements, crawlspaces, or older bathrooms.
Penicillium
Recognized for its blue or green appearance, this mold thrives on materials like insulation, wallpaper, and wet carpets that have been exposed to plumbing leaks.
Aspergillus
This mold can look white, yellow, or green and is often found on damp drywall, wallpaper, and clothing. Because it can cause respiratory irritation, it must always be handled with extreme care.
Stachybotrys chartarum (Black Mold)
This is the infamous toxic black mold that can release hazardous spores into your indoor air. It requires continuously wet, water-logged conditions to grow, often colonizing wood, ceiling tiles, and drywall after a severe plumbing failure, roof leak, or seasonal basement flooding. This type of mold is particularly dangerous and usually requires professional mold inspection and removal.
In our wet West Coast climate, mold can develop almost anywhere moisture accumulates. Common household hotspots include:
- Bathrooms: Porous grout lines, window frames, and caulking around showers and tubs.
- Basements and Crawlspaces: On concrete walls, subfloors, and rim joists lacking proper vapor barriers.
- Kitchens: Inside sink cabinets, near single-pane windows, and behind refrigerators.
- Attics: On roof beams, plywood, and insulation batts where roof ventilation is restricted.
- Windowsills: Wooden window frames that collect heavy structural condensation during cold BC winters.
Should You DIY Mold Removal or Hire a BC Professional?
Recognizing when to try DIY mold removal and when to hire professional mold remediation services is crucial for protecting your family’s health and preserving your home’s equity.
When to Do It Yourself:
- Small Areas (Under 10 Square Feet): If the moldy patch is small—roughly the size of a standard bathmat—and confined to hard, non-porous surfaces like tile, glass, or painted drywall, you can likely clean it yourself with the proper precautions.
- Surface-Level Growth: Mold growing on non-porous materials like bathroom tile can be wiped away relatively easily.
- Fully Visible and Accessible: If you can easily see and reach the entire mold patch without tearing open walls, DIY maintenance is a viable option.
When to Call a Professional:
- Large Areas (Over 10 Square Feet): Extensive fungal infestations can be hazardous and require commercial containment zones and industrial air scrubbers.
- Furnace and HVAC Vents: Mold hidden inside your heating, ventilation, and air conditioning tracks can spread spores throughout your house every time the heat kicks on. This must only be treated by licensed duct specialists.
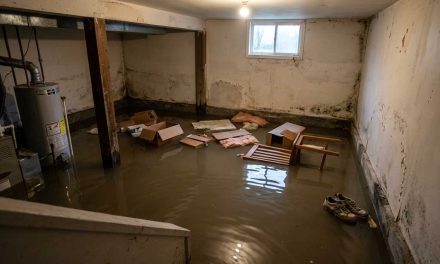
- Severe Water Damage: If the mold stems from a major flood, burst pipe, or sewage backup, call a professional immediately.
- Toxic Black Mold: As noted above, Stachybotrys chartarum requires specialized, industrial remediation protocols to ensure safe extraction.
- Health and Safety Risks: If anyone in your home suffers from asthma, severe allergies, or a weakened immune system, it is far safer to leave the cleaning to the experts.
Our Professional Recommendation
At Mobi Cleaning, we always prioritize your family’s safety. While surface scrubbers can handle tiny bathroom mildew patches, professional mold remediation guarantees the root cause of the moisture is found, and the spores are permanently removed. We use industry-standard tools like HEPA negative-air filtration and containment barriers to keep your indoor environment completely safe.
Learn more about Mobi Cleaning’s professional property maintenance services and request a free service estimate on mobicleaning.ca today
Preparing for Mold Removal: Safety First
If you are moving forward with a DIY project, protecting yourself from airborne spores is the absolute most critical step. Agitating dry mold will send millions of microscopic spores into your breathing zone.
Required Personal Protective Equipment (PPE)
- Sealed Safety Goggles: Always wear safety goggles that form a complete seal against your face to protect your eyes from floating spores and chemical overspray.
- Heavy-Duty Gloves: Use long rubber or nitrile gloves that cover your wrists to avoid skin contact with mold or harsh cleaning agents.
- HEPA Respirator Mask: A properly fitted N95 or HEPA-rated respirator mask is mandatory to protect your lungs from inhaling harmful spores.
- Disposable Coveralls: Wear old clothes that you can launder in hot water immediately after cleaning, or buy disposable Tyvek coveralls that can be safely discarded.
Environmental Containment Protocols
- Isolate the Room: Close off the workspace from the rest of your house. Use heavy plastic sheeting and painter’s tape to seal all doorways, electrical outlets, and HVAC furnace registers.
- Set Up Negative Air Pressure: Place a box fan in a window blowing outward to create negative pressure. This draws airborne spores out of the house and prevents them from drifting into clean rooms.
- Double-Bag Contaminated Materials: Any porous materials that cannot be salvaged (like moldy drywall or insulation), along with your used cleaning rags and sponges, must be sealed tightly inside heavy-duty plastic garbage bags before being moved through your home.
Tools and Materials You’ll Need
- Plastic Spray Bottles: Vital for applying your homemade mold-killing mixtures evenly across the affected surfaces.
- Stiff Scrub Brushes: Gather a few different sizes with firm bristles to easily reach tight corners, grout lines, or textured walls.
- Clean Rags or Sponges: Used to carefully wipe down treated surfaces and capture loosened black spots.
- Plastic Buckets: For mixing your eco-friendly cleaning solutions and keeping fresh rinse water nearby.
- Thick Plastic Sheeting: Heavy-duty poly sheeting paired with painter’s tape is required to build a safe containment barrier around the workspace.
- High-Powered Fans and Dehumidifiers: Essential tools to rapidly dry out the treated building materials once the scrubbing is complete.
Step-by-Step DIY Mold Removal Process
Now, let’s get into the exact, step-by-step instructions on how to get rid of mold safely and effectively. Follow these stages precisely to ensure a thorough cleanup and protect your indoor air quality.
Step 1: Find and Fix the Source of the Moisture
Mold is never a standalone issue; it is a direct symptom of an underlying water or moisture problem. If you do not completely fix the root cause of the dampness, the fungus will return. Carefully inspect the area for hidden plumbing leaks, window condensation, roof drips, or rising structural dampness, and ensure these structural issues are fully repaired before you start scrubbing.
Step 2: Set Up Your Containment Zone
As outlined in our safety preparation, seal off the affected room using thick plastic sheeting to block all doorways, windows, and HVAC vents. This prevents microscopic spores from floating into clean rooms. Remove any clean furniture, area rugs, or clothing from the space to protect them from cross-contamination, and safely discard any items that are already heavily ruined.
Step 3: Apply an Effective Mold-Killing Solution
You do not need harsh, toxic chemical bleach to destroy household fungal growth. There are several highly effective, natural fungicides you can mix up using everyday items from your kitchen or bathroom cabinet:
Distilled White Vinegar
Ordinary white vinegar is mildly acidic and possesses the natural chemical strength to destroy roughly 82% of common household mold species. It is a fantastic, non-toxic choice for standard residential cleaning.
- How to Use: Pour completely undiluted white vinegar straight into a clean spray bottle. Spray the moldy wall or surface heavily and let the acid sit undisturbed for at least one full hour. Afterward, scrub the spot with a stiff brush and wipe it down with a damp cloth.
Hydrogen Peroxide (3% Solution)
A standard 3% topical hydrogen peroxide solution functions as an incredible, non-toxic fungicide and a powerful household disinfectant.
- How to Use: Pour the hydrogen peroxide directly into an opaque spray bottle. Spray the moldy area, let it sit for 10 minutes to dissolve the fungal roots, then scrub the surface thoroughly and wipe it clean.
Baking Soda
Baking soda is a fantastic double-action remedy; it naturally kills mold, neutralizes sour, rancid odours, and actively works to prevent future fungal spores from germinating on the surface.
- How to Use: Mix one-quarter of a tablespoon of ordinary baking soda with warm water inside a spray bottle. Shake well, spray the solution directly onto the mold, and scrub it away. Once clean, rinse the area with plain water, then mist a light layer of the baking soda spray back onto the surface and let it air dry to act as a protective barrier.
Pure Tea Tree Oil
This completely natural essential oil functions as a highly potent fungicide. While it is slightly more expensive than household vinegar, just a small amount works wonders on stubborn spores.
- How to Use: Mix exactly one teaspoon of pure tea tree oil with one cup of warm water inside a spray bottle. Apply the mixture generously over the moldy patch, let it soak in to break down the roots, then scrub and wipe the surface clean.
Step 4: Scrub and Clean the Surface Thoroughly
After allowing your chosen cleaning spray to sit on the fungus for the recommended amount of time, grab your stiff-bristled brush. Vigorously scrub the surface to break up the caked-on mold layer and pull the deep roots out of the material. For stubborn, deep-set black marks, you may need to apply a second round of your cleaning spray and repeat the scrubbing process.
Step 5: Rinse the Area and Dry It Completely
Once the visible stains are completely scrubbed away, wipe down the area with a clean sponge and fresh water to remove any leftover cleaning residue. Next, bring in high-powered floor fans and a heavy-duty dehumidifier to dry out the building materials as quickly as possible. Fungi crave moisture, so ensuring the walls, floors, and framing are 100% bone-dry is the most critical step to stopping regrowth.
Step 6: Safely Dispose of All Contaminated Materials
Gather up all your used scrub brushes, dirty cleaning rags, soiled sponges, and disposable protective clothing, and place them straight into heavy-duty plastic garbage bags. Seal the bags tightly with tape before moving them out of the containment zone, ensuring no trapped spores can escape into the rest of your house.
Step 7: Follow a Long-Term Mold Prevention Plan
Stopping future growth is the ultimate key to keeping your living space healthy and pristine. Incorporate these everyday home maintenance habits into your routine:
- Control Indoor Humidity Levels: Keep your indoor relative humidity levels consistently below 50% all year long. Use a digital hygrometer to monitor your air, and run a dehumidifier in naturally damp zones like basements, crawlspaces, and laundry rooms.
- Maximize Room Ventilation: Ensure your home has excellent airflow, especially in moisture-heavy rooms. Always run your bathroom and kitchen exhaust fans for at least 20 minutes after showering or cooking, and open up your windows to air out the house whenever the weather permits.
- Fix Leaks Immediately: Repair any plumbing drips, window seal leaks, or roof issues the moment you notice them to keep structural wood dry.
- Maintain a Regular Cleaning Routine: Frequently vacuuming with a HEPA-filter vacuum and wiping down high-moisture surfaces helps clear away dust and organic matter before mold can use it as a food source.
When DIY Isn’t Enough: Calling in the BC Experts
Even with the absolute best DIY efforts, certain home moisture issues are simply too large, deep, or hazardous to handle safely on your own. If you have run through these steps and still notice a musty odour, if you suspect the fungus has spread behind your drywall, or if you are dealing with an extensive toxic infestation, it is time to put down the brush and call in professional mold remediation services.
At Mobi Cleaning, we specialize in high-standard professional mold remediation. Our certified local technicians utilize advanced truck-mounted extraction equipment, commercial containment protocols, and industrial air scrubbers to safely extract heavy fungal growth without cross-contaminating your home. We are fully trained to handle even the most severe water damage cases, ensuring your property is restored to a safe, healthy, and completely certified state.
Final Thoughts
Discovering mold inside your house is a serious issue that can compromise both your property’s equity and your family’s health, but with the proper safety gear and the right instructions, managing small surface issues is completely doable.
By following the systematic process outlined in this guide, you can safely tackle minor cleanup projects all on your own. Just remember that expert professional help is always just a quick phone call away if the job ever becomes too overwhelming.
Ready to Restore Your Home?
If your home’s basement, bathroom, or crawlspace needs a deep, professional-grade reset after a leak or flood, do not hesitate to contact us. The experienced team at Mobi Cleaning is here to handle the heavy lifting, clear away airborne allergens, and safely restore your house to a beautiful, healthy state. Contact Mobi Cleaning today to book your service appointment or request a completely free estimate!
Call Us
778.801.8595
SEND US AN EMAIL
book@mobicleaning.ca
Text Us
778.801.8595
Contact Us For Cleaning Services
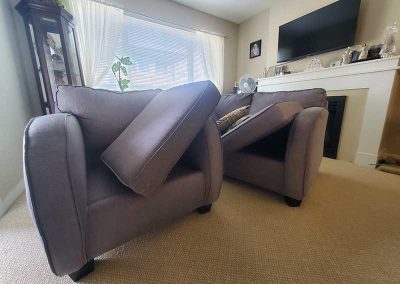
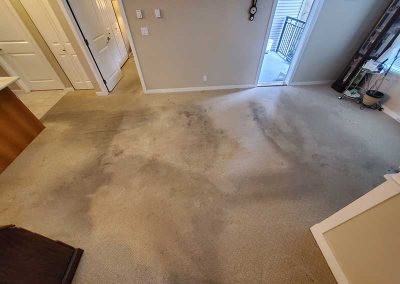
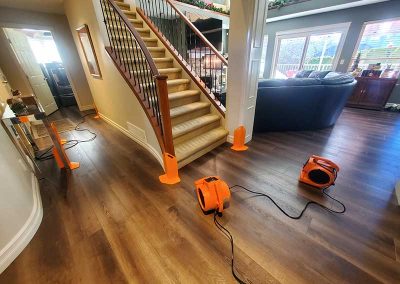
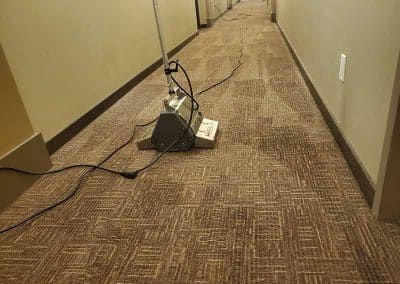
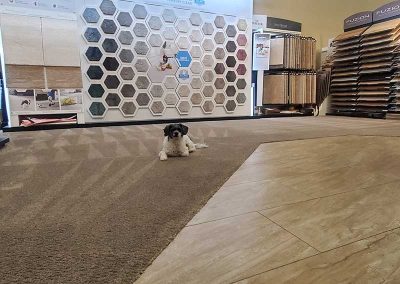
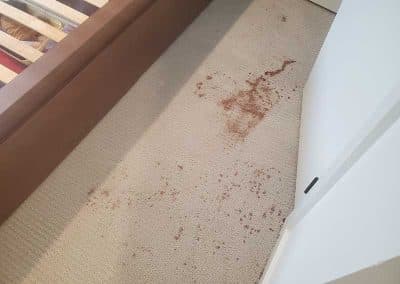
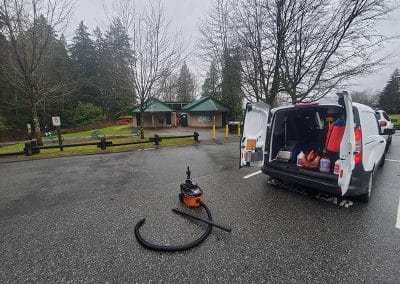
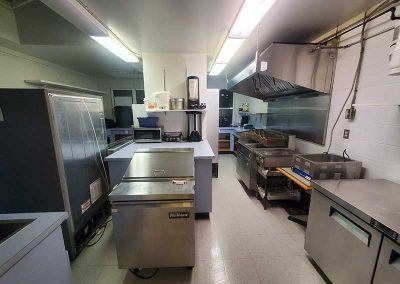
Real Results
We take tremendous pride in the results we deliver for our clients. The photos speak for themselves.
Why Choose Us
Business License, Criminal Record Check, Trained Technicians, Professional Tools, Professional Solutions, Better Results and Quality, Transparent Pricing and no Hidden Fees, Health Benefits, Professional Operation of Tools, Mobi Cleaning Difference, Flexible Scheduling, On-Time, Maintenance, Great Competitive Value, Customer Satisfaction Focused, IICRC Trained, Green Cleaning, Reputation, Property Protection, Fast Drying Carpets, 100 Percent Satisfaction Guarantee, Experience, Professional Processes, First-Class Service, Fast Response Time, Free Consultation and Estimates, Competitive Pricing and Dedicated Account Manager


